
Save $17.96

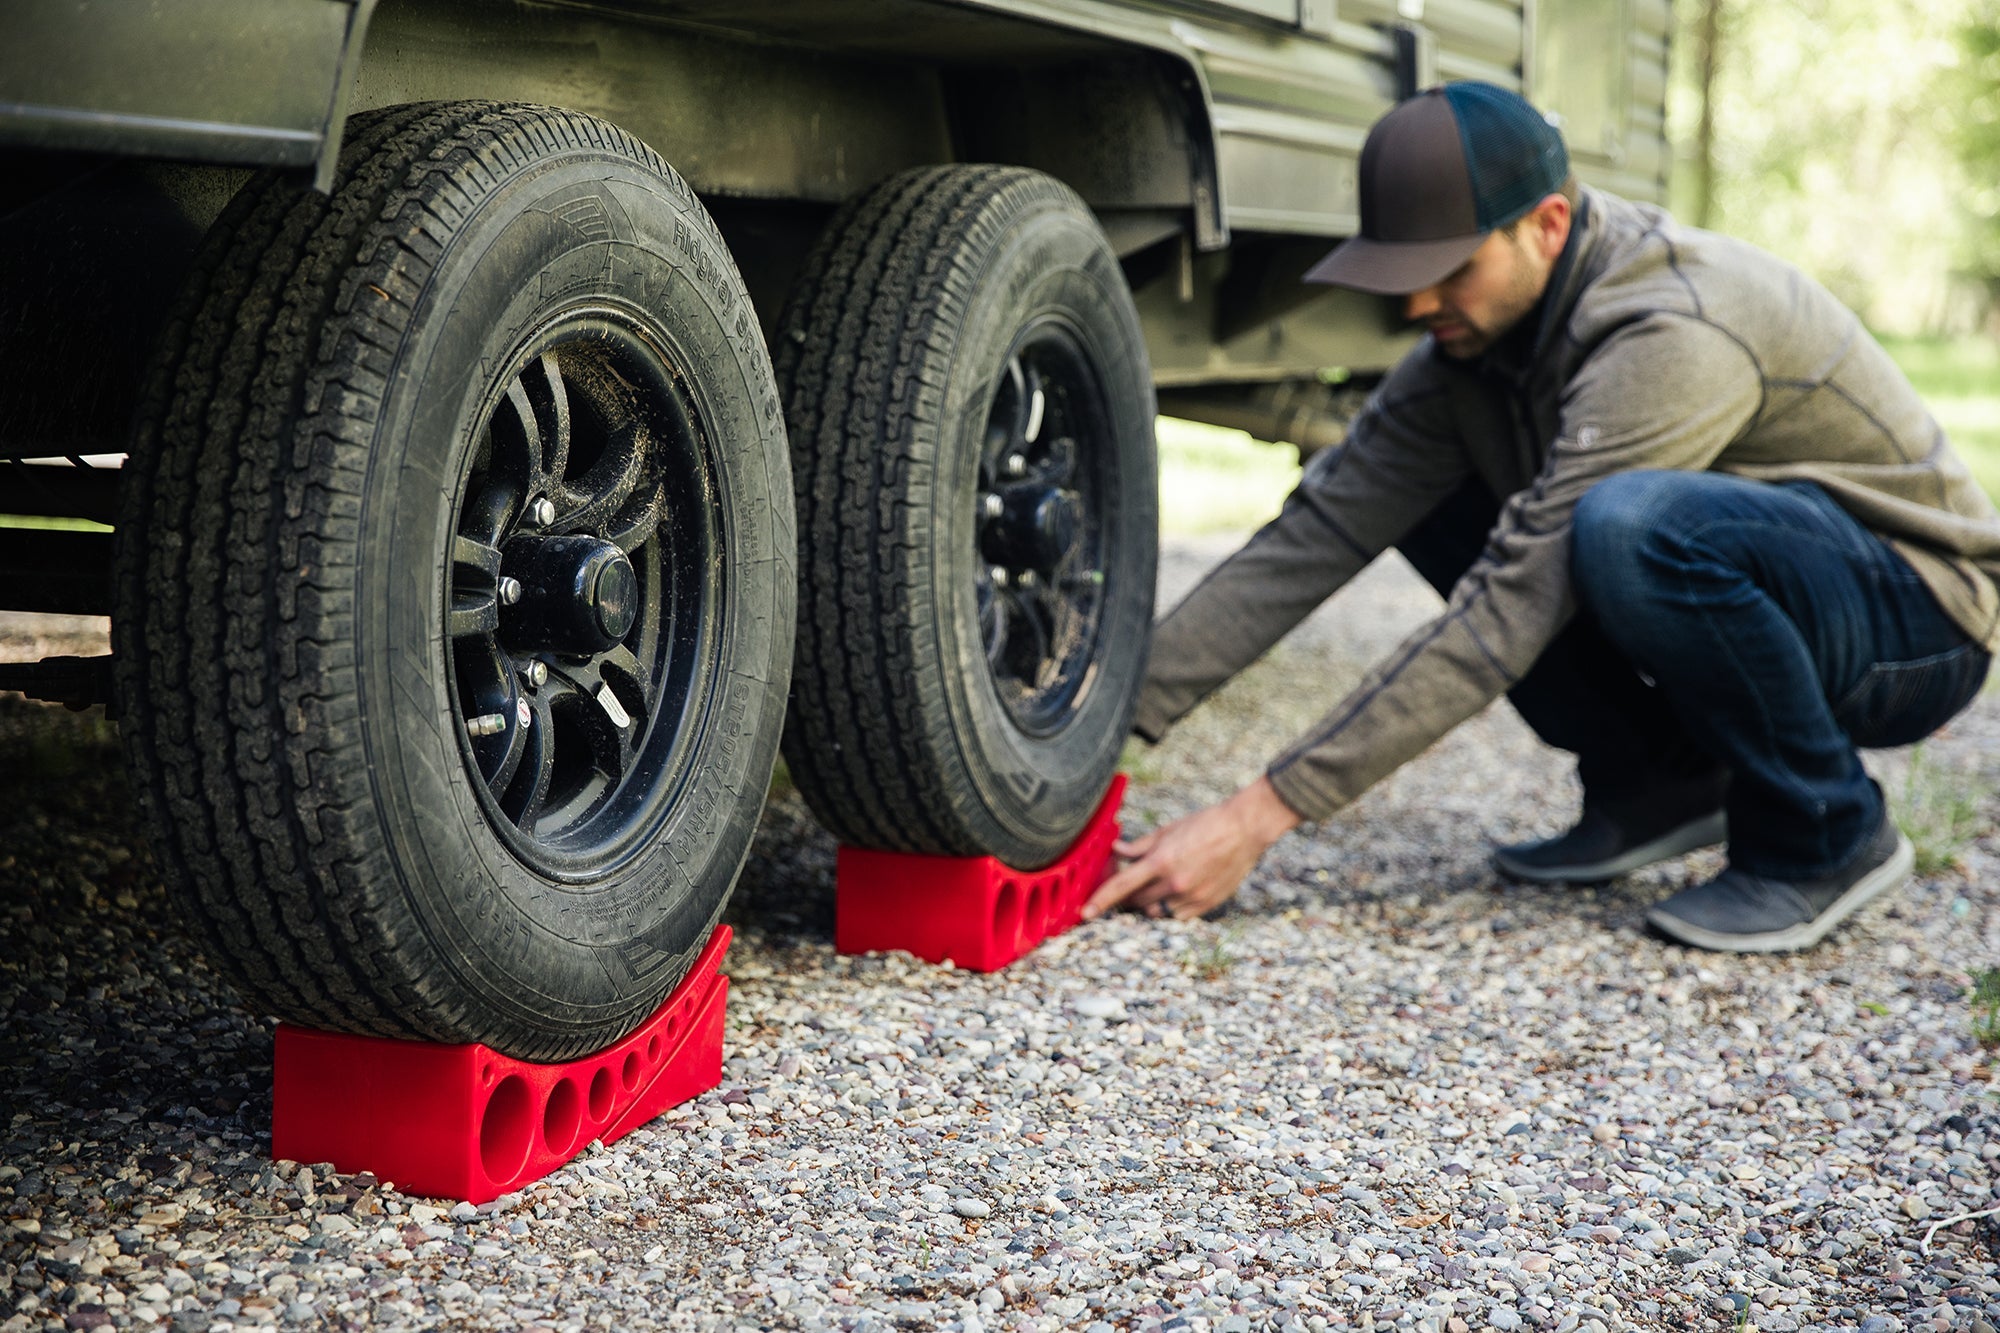
Camper Leveler - Set of 2 with Duffel Bag
PT000259 | 3604.2PKREVB
Sale price$139.99
Regular price$157.95
In stockSave $221.31
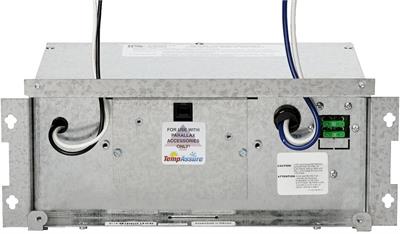
Parallax 55RU - Three-Stage Converter Replacement 55 Amp - For RV
PT002860 | 55TCRU
Sale price$349.95
Regular price$571.26
Sold out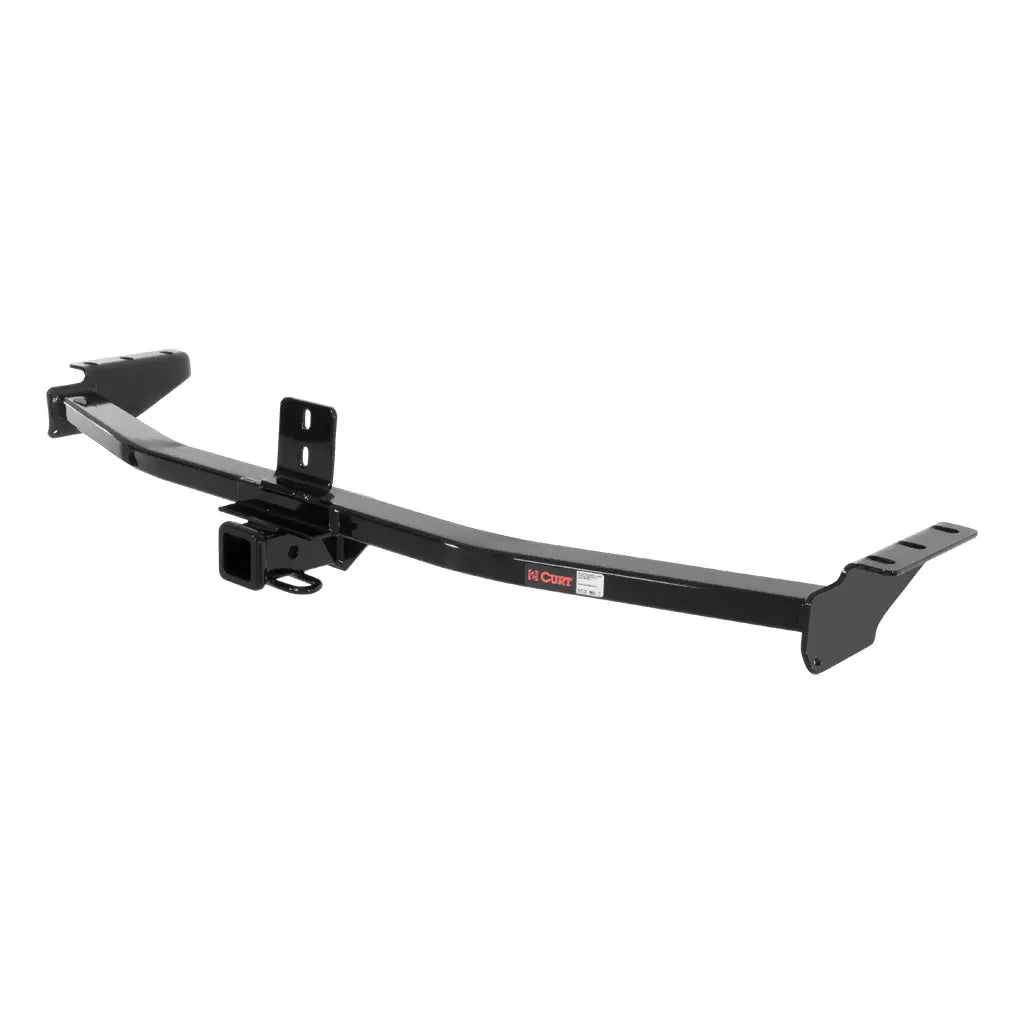
Class 3 Trailer Hitch, 2" Receiver, Select Acura MDX, Honda Pilot
PT000513 | 13328
Sale price$171.45
Sold out
Recently viewed

Affordable Shipping Across Canada & the US
We ship across Canada and the US with a commitment to fair shipping rates, ensuring affordability for all our customers.

Shop Safely with Our Secure Checkout
Experience peace of mind with our trusted and secure checkout process. Serving customers across Canada and the US with reliability and confidence.